
In this short article, I’ll demonstrate how you can effortlessly train ChatGPT with custom data, enabling it to understand specific topics with ease.
Requirements:
- ChatGPT API Key (You can obtain yours at https://platform.openai.com/account/api-keys)
- Zifront Free Trial (You can sign up for one at https://app.zifront.com/signup)
- Your website (This is where you are going to embed the chatbot)
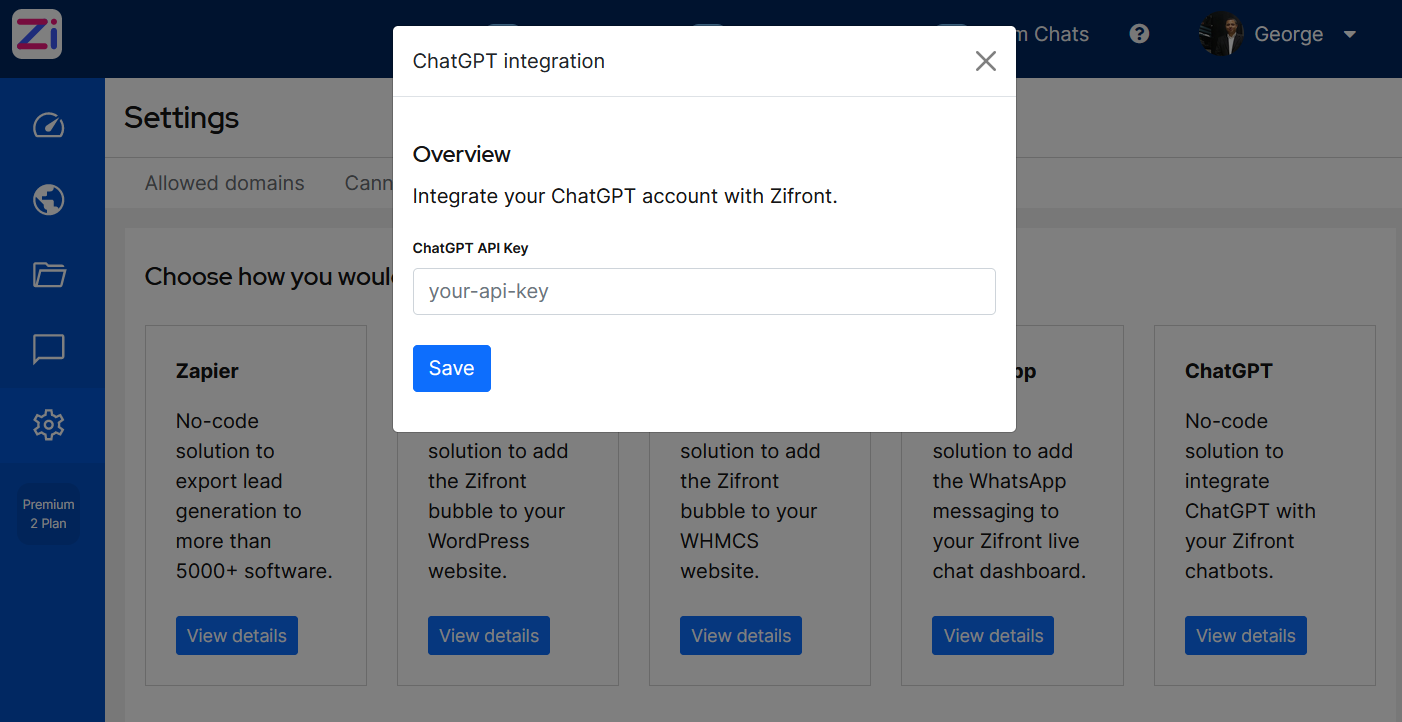
Step 1: Add your ChatGPT API Key to your Zifront integrations.
Go to: Settings > Integrations > ChatGPT and enter your ChatGPT API Key. You are all set with the integration!
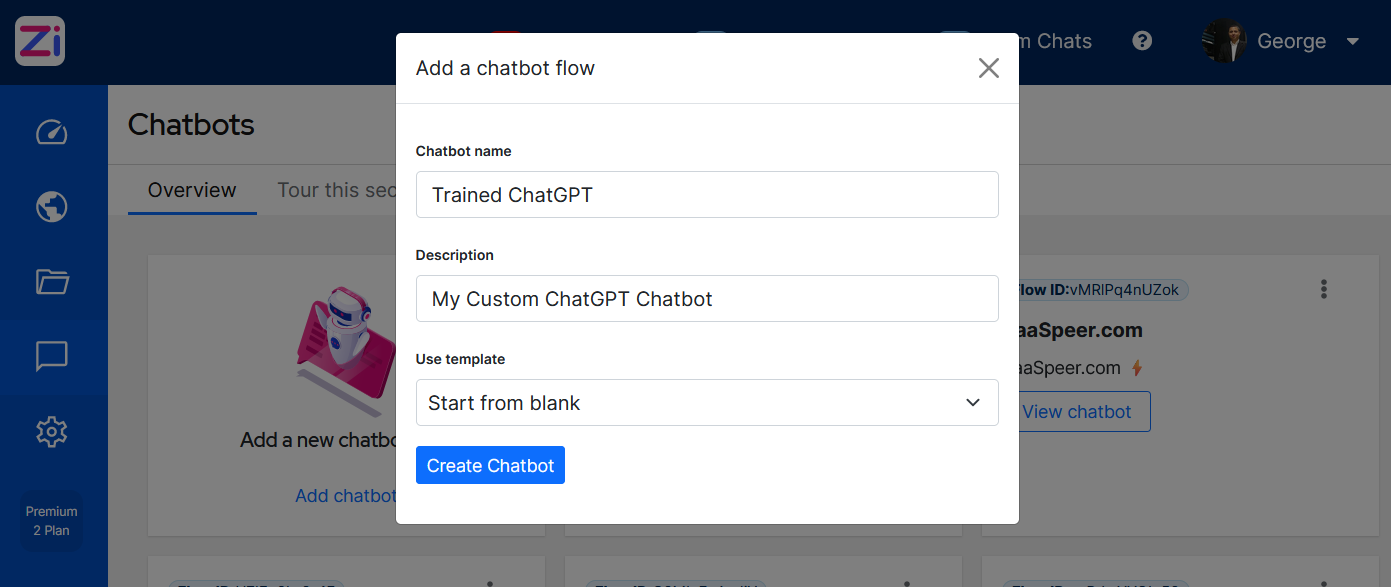
Step 2: Create a Chatbot
Go to: Chatbots > Add Chatbot and fill in the fields to create a blank chatbot.
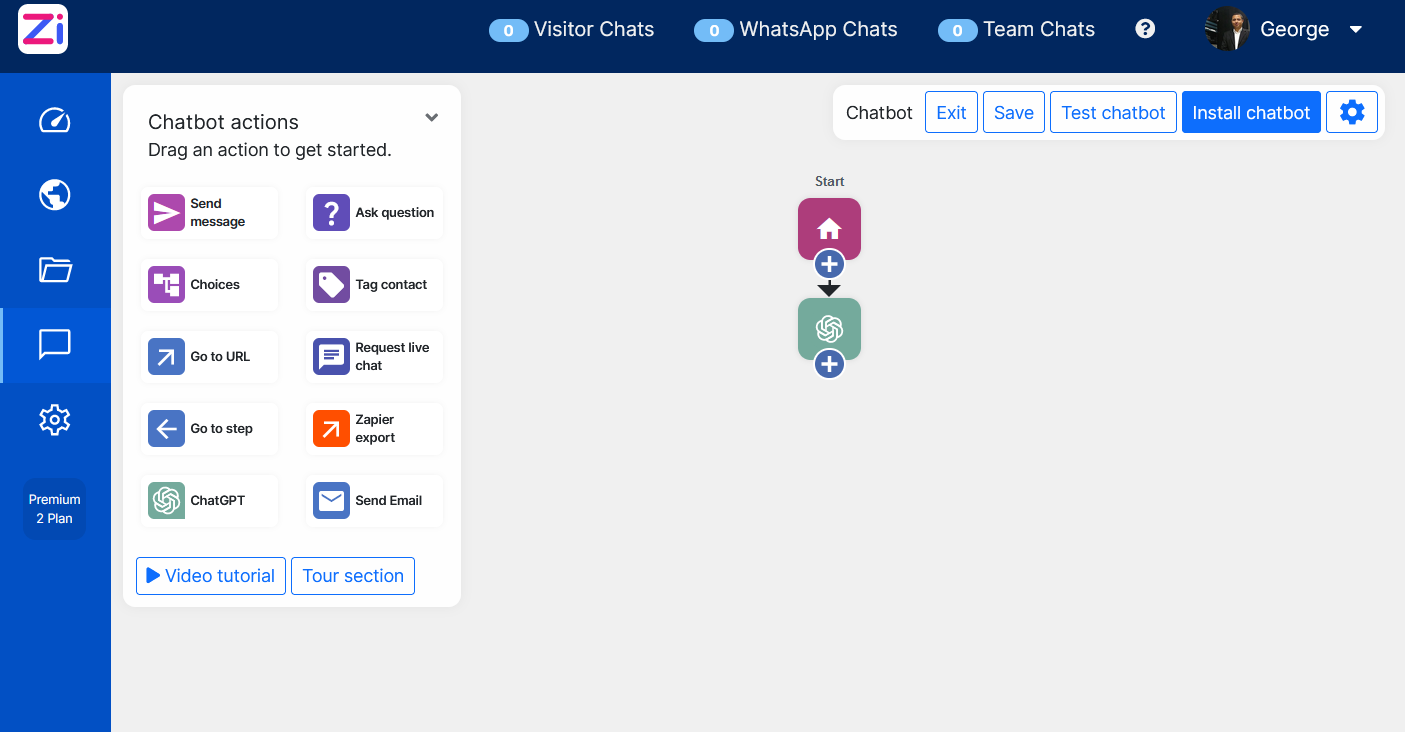
Step 3: Build the Chatbot Flow
Drag the ChatGPT icon from the Chatbot Actions box and drop it to attach it to the Start icon. You are ready to proceed with training the chatbot.
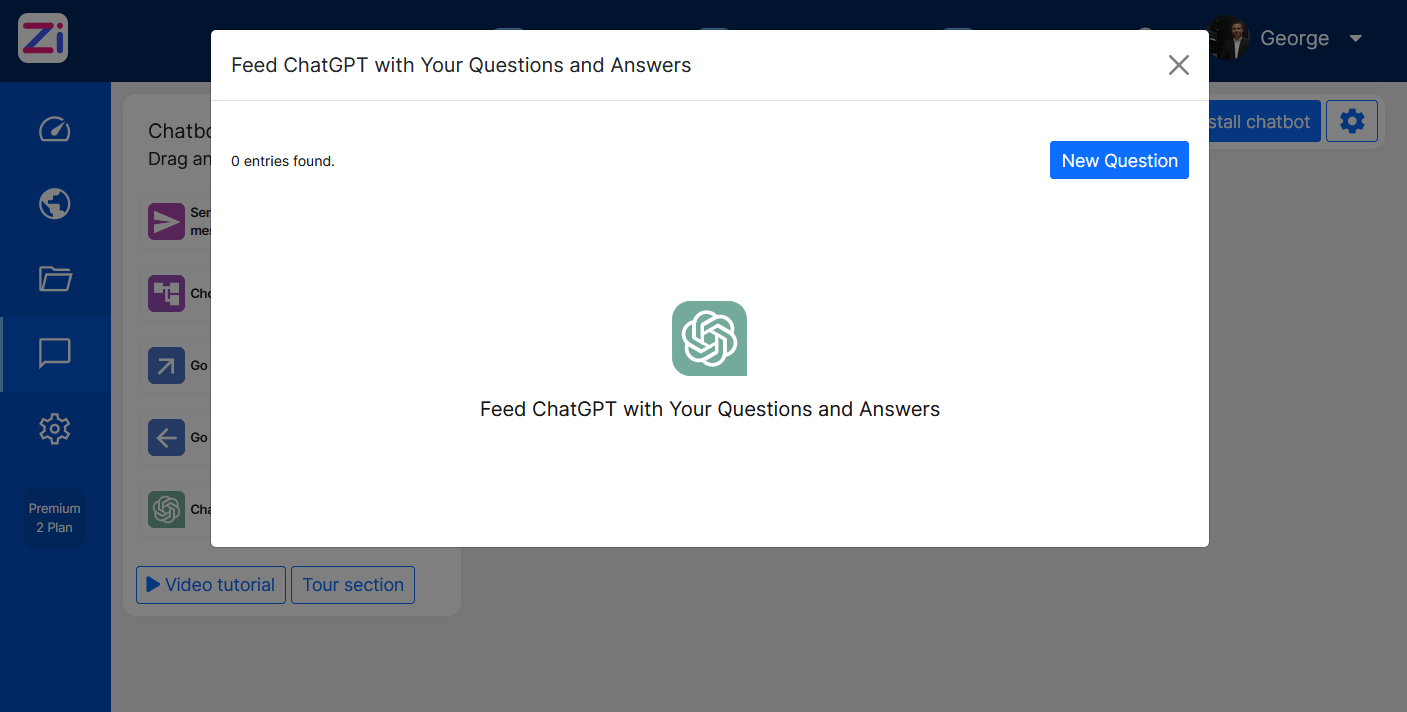
Step 4: ChatGPT Training: Add your Questions and Answers
Now, it’s time to provide ChatGPT with your data. For this, click the ChatGPT icon > QA View > New Question.
On the QA View, you will see a list of all your questions. In our case, it should be empty.
A well-trained ChatGPT model will require hundreds, if not thousands, of training data feeds, and in the end, it should look something like this:

Step 5: Install the trained Chatbot
After saving your Chatbot, you will have the option to install the chatbot on your website.

The installation involves adding one line of code between your <head> tags or using a one-click installation with our WordPress plugin (https://wordpress.org/plugins/zifront-chatbot-and-live-chat/).
Once you’ve completed all these steps, you will have a fully functional, customized ChatGPT chatbot.

Without having to write a single line of Python code, Zifront provides a user-friendly interface to start your ChatGPT fine-tuning process.