Ziftront can easily integrate with WhatsApp API for multi-agent access to respond to WhatsApp messaging requests. A few steps are required to create your messaging app at the Facebook/Meta interface. Follow this direction to initiate your setup.
What are the steps to connect my chatbot to the WhatsApp Business API?
- Set up a WhatsApp Business account: First, you will need to create a WhatsApp Business account. This can be done through the WhatsApp Business app or by visiting the WhatsApp Business website.
- Obtain a WhatsApp Business API account: To use the WhatsApp Business API, you will need to apply for and obtain an API account. This can be done through the WhatsApp Business API client.
- Set up the WhatsApp Business API client: Once you have obtained an API account, you will need to set up the WhatsApp Business API client. This will involve configuring the client with your API credentials and setting up any necessary webhooks URLs.
- Test the connection: After setting up the API client, you should test the connection to ensure it is working correctly. This can be done by sending a test message to your WhatsApp Business account through the API client.
- Integrate with Zifront: Once the connection works correctly, you can integrate your Zifront account with the WhatsApp Business API.
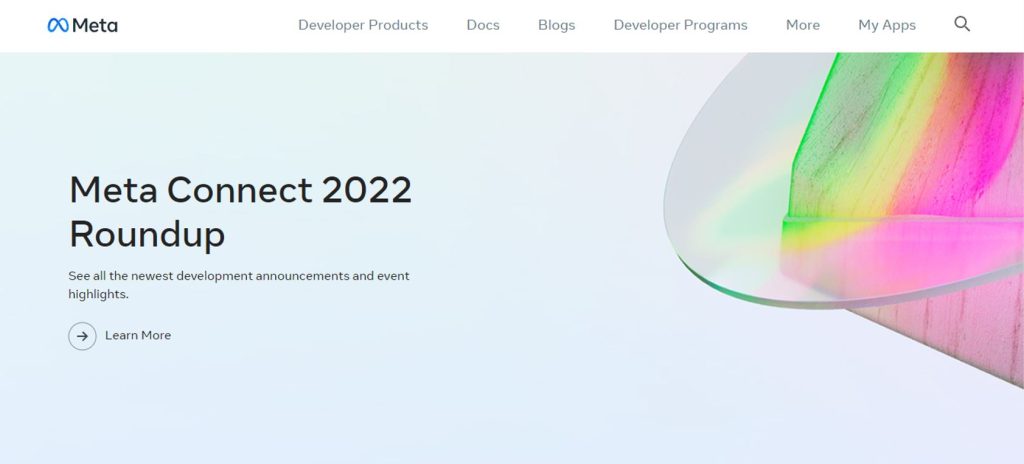
Step 1 – Visit https://developers.facebook.com
Go to – https://developers.facebook.com/ (you need to have your Facebook account logged in)
Step 2 – Go to My Apps
Click on My Apps – you will get the following screen –

Step 3 – Create your App
Click on Create App link – to get the following screen –

Step 4 – Click on Business
Click on Bussiness App type – and click on Next Button – to get the following screen

Give the App name as per your requirement in the “Add an app name” section.
Give your email in the “App contact email” section (the email used for your Facebook account)
Select a Business account if you have created one in the “Bussiness Account Section,” It is optional; otherwise, Meta will create a Business account automatically for you
Step 5 – Create an app
Click on the “Create app” button to create the App and get the following screen:
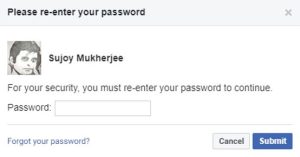
Please provide your Facebook password here and click on the “Submit” button to get the following screen:

Scroll down and select the “Set up” button in the Whatsapp section to get the following screen:
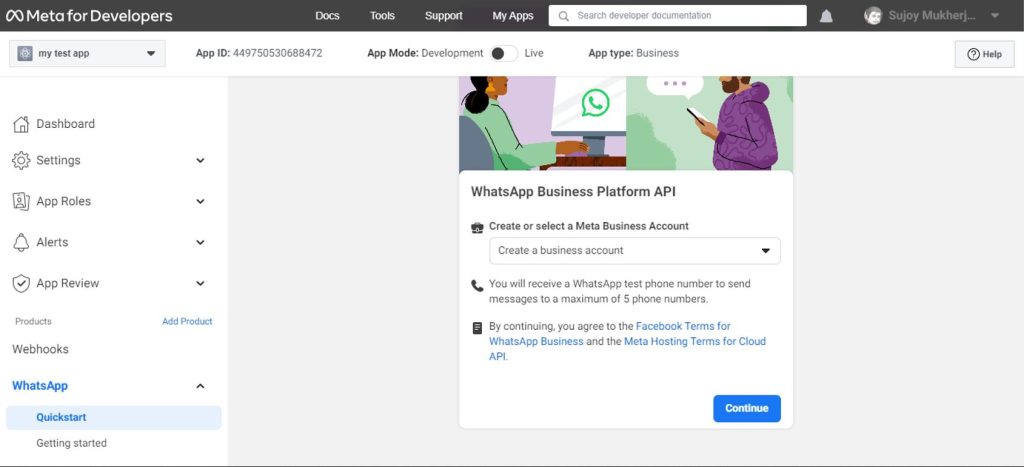
Click on the “Continue” button; you will get the following screen:

Click on the “Start using the API” button to get the following screen:

In this screen, you will find the temporary Access Token. The Access Token is the token specified in green in Step 2 (“Send a message with the API”). This needs to be changed to permanent API for production, which is discussed later in the document
The From Section, marked in red, holds the test telephone number provided by Meta (15550760114), the phone number id (109358925357216), also specified in Step 2 as – https://graph.facebook.com/v15.0/109358925357216/messages, and the WhatsApp Business Account ID: 107021388926334
These values are provided for testing purposes. You need a dedicated phone number to enable your Meta account.
Step 6 – Integrating Zifront with the WhatsApp Business API
At Zifront, click on “Settings,” click on “Integrations,” and then click on WhatsApp Integration. Click on “Add number” to get the following screen.
Use the information provided by Meta to fill out the form. The Meta phone number ID, your business WhatsApp number, and the Permanent Token are provided by Meta. Your business name and Verify token are specified by yourself. You can use the temporary token to start, but it expires after 23 hours. For this reason, you must apply for a permanent token.

How can I get a permanent token for my WhatsApp Business API?
You must apply for an API account to obtain a permanent token for the WhatsApp Business API. This can typically be done through the WhatsApp Business API client.
Obtaining an API account involves filling out an application form and providing basic information about your business and how you plan to use the API. Meta will review your application and, if approved, will provide you with a permanent token that you can use to authenticate your API requests.
It’s important to note that the WhatsApp Business API is intended for businesses that want to use it to communicate with their customers or clients. If you are an individual or are using the API for personal purposes, you may not be eligible to obtain an API account.
What are the steps to configure the WhatsApp Business API webhook?
To configure the WhatsApp Business API webhook, you will need to follow these steps:
- Set up a webhook URL (https://app.zifront.com/whatsappwh): The webhook will be triggered by incoming messages or events from the WhatsApp Business API, sending a request to Zifront. If you don’t already have a Zifront account set up, you will need to do this first.
- Test the webhook: After configuring it, you should test it to ensure it is working properly. This can be done by sending a test message through the WhatsApp Business API and verifying that the webhook is triggered and Zifront receives the request.
What is the verify token for the WhatsApp business API webhook?
The verify token is a string of characters used to verify the authenticity of a webhook request sent to your server by the WhatsApp Business API. The verify token is set by you when configuring the webhook in the API client, and it is included in the request header when the webhook is triggered.
When Zifront receives a webhook request, it can check the verify token in the request header to ensure that the request is genuine and not an attempt to impersonate your server by a third party. This helps prevent unauthorized server access and protect your business from potential security risks.
To use the verify token, you will need to set it when configuring the webhook in the WhatsApp Business API client and include code in your Zifront account to verify the token when a request is received. The specific steps will depend on your programming language and web framework.
I hope this helps! If you have any additional questions or need more guidance, please don’t hesitate to ask.